
Empfohlen
Weitere ähnliche Inhalte
Was ist angesagt?
Was ist angesagt? (20)
Ähnlich wie Using AutoDesk Inventor to assemble a Trinket box
Ähnlich wie Using AutoDesk Inventor to assemble a Trinket box (20)
Kürzlich hochgeladen
Kürzlich hochgeladen (20)
Using AutoDesk Inventor to assemble a Trinket box
- 2. We are now going to look at joining our Trinket Box together by using an Assembly Drawing. Select the ‘Standard iam’ template Make sure the metric tab is selected Select OK
- 3. We are now in assembly mode. Everything is just about the same… This toolbar is called the ‘Assembly Panel’ and has some different functions on it
- 4. 1.Select ‘Place component’ Lets place our first component 2.Select ‘Box Long Side’
- 5. Click on the screen to DROP the component. Click and Drop again to place another. Then press ESCAPE so you don’t end up with three
- 6. Place two Short Sides Change the colours to 4 different colours This will make it easier later on
- 7. Select the Constraint tool. In total we will place NINE constraints on the parts. Now we are going to start adding the ‘glue’ to join all of our components together…
- 8. 1. This button here is pressed in and it wants you to select the first face to ‘mate’…. 2. Click on this face here
- 9. 1. Now it is asking you to select the second face… 2. The second face is tucked behind here
- 10. 2. Select the second face
- 11. Select Isometric View, it now looks something like this… Lets select the next two faces to join together Click apply to finish the constraint
- 12. Now lets apply the second constraint 2. This is the first face to select 1. Select the Flush command 3. This is the second face to select Apply the constraint
- 13. Almost there. We’ve just got to make sure that the Biscuit Joints are lining up 2. This is the first face to select This is the second face to select
- 14. These two sides are now fully constrained and can’t be moved.
- 15. Constrain the other joints, in the same way, so that it looks like this
- 16. Now place the Box Base . . . And we’ll start constraining We’ll have to zoom in and rotate so we can see inside the Biscuit Joint
- 17. 1. This is the first face to select 2. This is the second face to select Mate the two surfaces together
- 18. Now in the same way, mate the base to the inside of this area
- 19. Lastly mate this small surface To the UNDERSIDE of the base In this view, the box has been rotated so that it is upside down
- 20. Lastly place the Box Lid . . . Lastly mate this small surface FLUSH these two surfaces Lastly mate this small surface FLUSH these two surfaces
- 21. MATE the top surface with … … the UNDERSIDE of the Lid
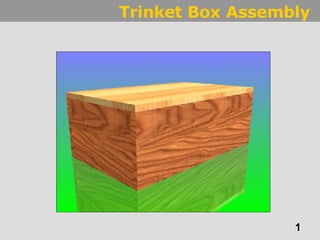
- 22. Use ‘Inventor Studio’ to fully render your final box Your teacher will show you how to get started . . .