Using Prezi
•
0 gefällt mir•204 views

Courtesy of the Southwestern Ohio Instructional Technology Association. www.soita.org

Empfohlen
Weitere ähnliche Inhalte
Andere mochten auch
Andere mochten auch (12)
Ähnlich wie Using Prezi
Ähnlich wie Using Prezi (6)
Using Prezi
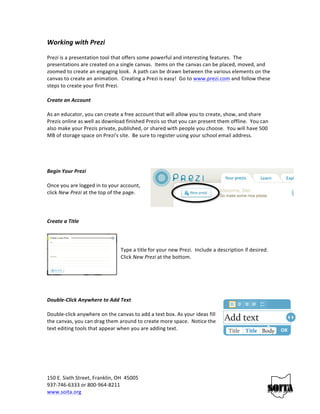
- 1. Working with Prezi Prezi is a presentation tool that offers some powerful and interesting features. The presentations are created on a single canvas. Items on the canvas can be placed, moved, and zoomed to create an engaging look. A path can be drawn between the various elements on the canvas to create an animation. Creating a Prezi is easy! Go to www.prezi.com and follow these steps to create your first Prezi. Create an Account As an educator, you can create a free account that will allow you to create, show, and share Prezis online as well as download finished Prezis so that you can present them offline. You can also make your Prezis private, published, or shared with people you choose. You will have 500 MB of storage space on Prezi’s site. Be sure to register using your school email address. Begin Your Prezi Once you are logged in to your account, click New Prezi at the top of the page. Create a Title Type a title for your new Prezi. Include a description if desired. Click New Prezi at the bottom. Double-‐Click Anywhere to Add Text Double-‐click anywhere on the canvas to add a text box. As your ideas fill the canvas, you can drag them around to create more space. Notice the text editing tools that appear when you are adding text. 150 E. Sixth Street, Franklin, OH 45005 937-‐746-‐6333 or 800-‐964-‐8211 www.soita.org
- 2. Zoom in to Develop Your Ideas Zoom in to your text to develop the ideas and add more text. Use the zoom buttons on the right side of the screen or scroll your mouse wheel to zoom in and out. Use the Zebra for Structure and Size Arrange your text and create hierarchy by changing the size of the text. When you click on one of the text boxes, you'll see the striped transformation zebra, which lets you move (center of the zebra), size and scale (inner ring of the zebra), and rotate (outer ring of the zebra) objects of any kind. Use the “Bubble Menu” This Bubble Menu will allow you to do more with your Prezi. The larger circles represent various categories. The smaller circles are subcategories. Larger circles will become partially invisible when subcategories are selected. Simply click the partial category to regain the full menu. Once you get the hang of it, the bubble menu is easy to use. Add Images from the Insert Menu Click Insert on the menu in the upper left and navigate to the image you want to use. Once the image appears on the canvas, you can click on the image and use the zebra to move, size, or rotate it. Add Shapes or Frames You can also add shapes or frames to your Prezi to add emphasis or flair. These options are found in the bubble menu. 150 E. Sixth Street, Franklin, OH 45005 937-‐746-‐6333 or 800-‐964-‐8211 www.soita.org
- 3. Add Style to your Prezi by Using the Colors Category Choose a preset theme or create your own. Create Your Storyline Click on Path in the bubble menu to create your storyline. Click on the parts of your Prezi in the order in which you want to show them. If you want to change the order of your path, you can Delete All and start again or drag the unassigned path ball (that appears between path numbers) to the object you want to show. Click 'Show' to Present! Go into presentation mode by clicking on Show. Step through your Prezi with the arrow buttons or arrow keys. You can click to zoom in and out of your ideas at any point and press the arrows to get back to the path. 150 E. Sixth Street, Franklin, OH 45005 937-‐746-‐6333 or 800-‐964-‐8211 www.soita.org