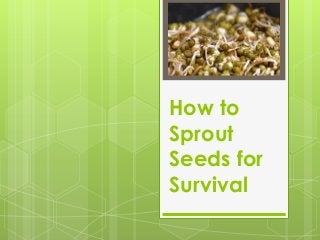
How to Sprout Seeds for Survival
•Als PPTX, PDF herunterladen•
0 gefällt mir•418 views

Do you know how to feed your family when disaster strikes? Better learn how to sprout seeds for survival now so you can overcome any crisis situation!

Empfohlen
Empfohlen
Weitere ähnliche Inhalte
Kürzlich hochgeladen
Kürzlich hochgeladen (20)
Empfohlen
Empfohlen (20)
How to Sprout Seeds for Survival
- 2. Sprouting seeds for survival is one of the best ways to ensure that your family will be able to eat even in crisis. Follow these instructions now to get started! INTRODUCTION
- 3. Get the following materials: Survival Seeds Some Glass Jars Pieces of Mesh Rubber Bands Sealed Plastic Bags STEP 1
- 4. Prepare your survival seeds. Read the packet to know the amount of seeds to use, how long to immerse them, and how many days till you can consume the sprouts. STEP 2
- 5. Pour cold, purified water into the jar to soak the seeds. Add enough water so that the seeds can double their dry size even while still being immersed in water. STEP 3
- 6. Let the seeds soak for 4-12 hours, depending on the seed type. STEP 4
- 7. After soaking, put the mesh on the jar opening, secure it with the rubber band and drain out all the water. Rinse the seeds with cool water and drain again properly. Get much water out as possible to prevent molds. STEP 5
- 8. Turn the jar upside down to a 45° angle and place it in a bowl. This drains out the excess water and encourage air circulation. Keep the seeds away from sunlight. STEP 6
- 9. Rinse the sprouts twice daily for 3-5 days, again depending on the variety. Drain out the water properly after rinsing them and put the jar back to its upside-down position. STEP 7
- 10. On the very last rinsing, pour cold water into the jar and scoop out the all floating seed husks. STEP 8 Then drain out all the water, rinse again and drain once more in the usual upside-down position until all the water is gone. Use a cloth to further dry the seeds.
- 11. When the sprouts are generally dry, place them in sealed plastic bags and put them in the fridge. Rinse them every few days to extend their shelf life up to a week. STEP 9
- 12. Now that you know how to sprout your seeds for survival, you can easily feed your family in times of crisis. Just follow the instructions properly and your family will always have access to nutritious food. ALL DONE!