3. There are a various types of
custom fields that can be
created to request attendee
information.
Types of Custom Fields
Alphanumeric: Can be used to request either textual or numeric information. Choose ‘select’ or ‘radio’ for listing multiple options but limiting the selection to
only one. For multi-select options, use the check box.
Number: Will only allow attendees to fill in the requested information as a numeric value. These types of fields will give an error message if a textual response is
submitted.
Note: For requesting larger amounts of information.
Date: Can be used for any date selection such as which day they will attend, birth dates, hotel bookings, etc...
File: For uploading presentations, documents, photos, or any files up to 50 MB.
Link: Ensure a proper URL is added. An alert will be displayed if any standard part of the URL is missing
4. To create your own Custom set,
choose a name and select what
they will be used for, general contacts or event attendees.
Additional Information
Contacts: Can be used to request general contact information which will show up on their contact profile in your database.
Event Attendee: Used for event specific information which will show up only when viewing the event data. This helps keep the database clear from information
that is only related event registration.
5. Add a name for this custom
field and select the type of
data to collect.
Since the set was created
for Event Attendees, all
custom fields in this set will
be for attendees.
Additional options
Default Value: If you want a pre-filled or suggested answer, it can be added to the ‘default value’ field. Attendees will be able to edit it when filling out the form.
Field help: Additional instructions can be added here. To display it above the field, fill in the ‘field pre help’. To display it after, fill in the ‘field post help’.
Searchable: To allow the information to be searchable in the advanced search options, check this box.
6. You can add as many custom
fields as needed to this set.
All custom fields will be
available when setting up the
event registration form.
7. To add the custom fields to your
event, go to the menu item
‘Registration Forms’ and click the
link ‘Fields’ on the registration
form used for your event.
8. In the form overview, click
the button ‘Add Field’.
9. Since the custom set was
created for event attendees,
the new fields will show up
under that drop down.
The field label and help text
is automatically filled in
with the pre-configured
information. This can be
edited or removed here.
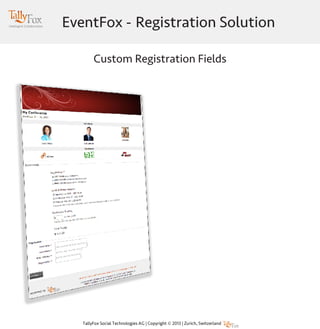
10. The complete form with all
custom fields and sections will
show up on your registration
page.