Clipping Path Expert (CPE)- an offshore graphic design studio providing clipping path, image retouching, Photoshop masking, drop shadow, image manipulation, raster to vector and other Photoshop services.
www.clippingpathexpert.com
Email: clippingpathexpert@yahoo.com
Azad Nagar Call Girls ,☎️ ((#9711106444)), 💘 Full enjoy Low rate girl💘 Genuin...
Photoshop clipping path service.
1. Pen Tool Tutorial Recommended for Beginner Level
Photoshop Users. (www.clippingpathexpert.com)
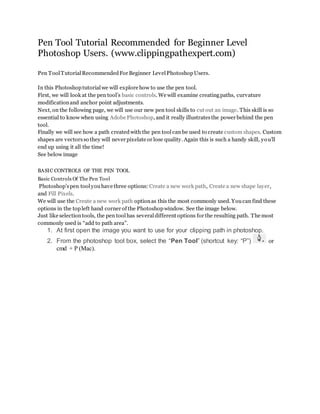
Pen ToolTutorialRecommendedFor Beginner LevelPhotoshopUsers.
In this Photoshoptutorialwe will explore how to use the pen tool.
First, we will look at the pen tool’s basic controls. We will examine creatingpaths, curvature
modificationand anchor point adjustments.
Next, on the following page, we will use our new pen tool skills to cut out an image. This skill is so
essential to know when using Adobe Photoshop, and it really illustratesthe power behind the pen
tool.
Finally we will see how a path createdwith the pen toolcan be used to create custom shapes. Custom
shapes are vectorsso they will never pixelate or lose quality. Again this is such a handy skill, you’ll
end up using it all the time!
See below image
BASIC CONTROLS OF THE PEN TOOL
Basic Controls Of The Pen Tool
Photoshop’spen toolyouhave three options: Create a new work path, Create a new shape layer,
and Fill Pixels.
We will use the Create a new work path optionas this the most commonly used. Youcan find these
options in the topleft hand corner of the Photoshopwindow. See the image below.
Just like selectiontools, the pen toolhas severaldifferent options for the resulting path. The most
commonly used is “add to path area”.
1. At first open the image you want to use for your clipping path in photoshop.
2. From the photoshop tool box, select the “Pen Tool” (shortcut key: “P”) or
cmd + P (Mac).
2. 3. Then now you can start Clipping Path outline the object. After a certain distance,
On the edge and this time hold click again and drag your mouse pointer.
Continue doing the same process until you end up at the point where you started
your path. Once you have to close path adding this point in the last click, you are
done with the outline path only.
3. 4. Then you need to draw path for each of the missing within the image. Continue
drawing paths for all gaps. You have to be done drawing paths for your image to
remove the background.
4. 5. Now you are done drawing paths all around the portion of the image, then you
need to apply clipping path get the background removed. Go to the path palette,
situated under “window” menu called “Path”. Then just double click on the “work
path” then Ok button.
5. 6. Then click on the pop up menu in photoshop path palette, and now choose
“clipping path”. Now clipping path window is open, then you can just click “OK”.
You can amount of softness in the flat area.
6. 7. Finally you have completed path just now you can remove the background, bring
the “Path” and “layer” palette from “window”.
8. Then select the background layer then press and hold the (Ctrl+J) your keyboard.
The main object remains by itself with a new layer in a transparent background.
7. I hope this helps all of the aspiring Photoshoppers out there to begin delving a little
deeper into the powers of the Photoshop.
Thanks for reading.
URL : www.clippingpathexpert.com
Email : clippingpathexpert@yahoo.com