This document provides instructions for editing a stock photo using Photoshop. The steps include duplicating layers and adjusting their blending modes, using selective color to darken blacks, selecting skin areas and adding curves and hue/saturation adjustments, adding color to lips, using burn tools to darken dark areas and soft brushes to lighten bright areas, adding photo filters and adjustments layers to warm the tone, and using dodge and burn tools to refine shading. The goal is to produce a final edited photo from the original stock image.
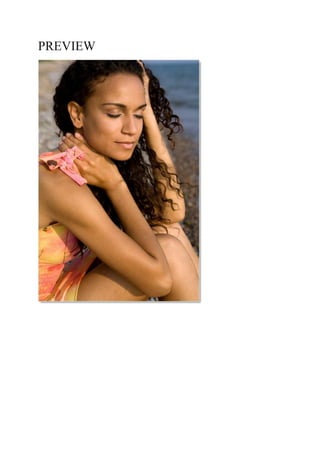
9. Step 5
[image]
Add colour to the lips
Pick the Lasso Tool then draw the selection around her lip
Feather selection (5px)
Use Hue/Saturation module (Ctrl + U)
6.
And now, shade something ..
-Stand on layer "skin"
10. -Pick Burn Tool, darker some dark area ...
You see? these areas are so bright. Fix it now!!
11. -Use EyeDropper, choose a skin tone color
-Make new layer
-Use Soft Brush draw into bright areas ( on new layer )
-Change Blending mode = " Color "
-Filter >> Blur >> Gaussian Blur ( 5 > 10 px )
12. Now, we need some tone color for this image
I choose warm tone
Add one more adjustment layer ( Photo Filter ) and set as I did ..
13. At last step, you should make a copy-of-merged-layer by using Image >> Apply Image ( on new blank layer )
Change mode = Screen, discount Opacity ..
You can use Dodge and Burn Tool to shading some skin areas are incorrect ...