
Empfohlen
Weitere ähnliche Inhalte
Was ist angesagt?
Was ist angesagt? (17)
Andere mochten auch
Andere mochten auch (17)
Ähnlich wie Step By Step Webpage Guide
Ähnlich wie Step By Step Webpage Guide (20)
Step By Step Webpage Guide
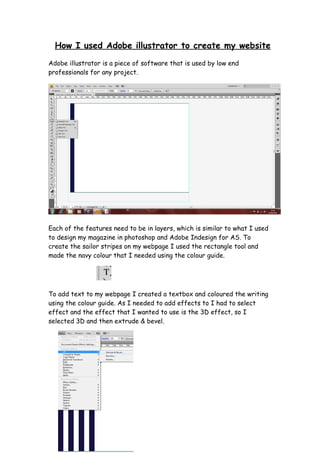
- 1. How I used Adobe illustrator to create my website Adobe illustrator is a piece of software that is used by low end professionals for any project. Each of the features need to be in layers, which is similar to what I used to design my magazine in photoshop and Adobe Indesign for AS. To create the sailor stripes on my webpage I used the rectangle tool and made the navy colour that I needed using the colour guide. To add text to my webpage I created a textbox and coloured the writing using the colour guide. As I needed to add effects to I had to select effect and the effect that I wanted to use is the 3D effect, so I selected 3D and then extrude & bevel.
- 2. In extrude and bevel you can select the depth of the effect and the perspective to get the text into the style that I needed. I had to use the colour picker to get shade of red or navy that I needed by typing in the correct numbers in the gradient boxes. However, if you don’t know the exact numbers for the shade of red that you need you can use the colour guide to scroll to the colour that you need. To insert an image onto adobe illustrator you select file and then place. You then browse your files to find the image that you need which will then appear on the page. It is then simple to adjust as you can crop and scale the image exactly to how you need it on the page using the green box.
- 3. If you are unhappy with how your image looks after you have placed it you can transform it again by going into object and then transform. You have the choice of moving, rotating, reflecting, scaling and shearing the object. Or alternatively you can use the free transform tool from the toolbar on the left hand side of the page.