
Empfohlen
Empfohlen
Weitere ähnliche Inhalte
Empfohlen
Empfohlen (20)
User manual-saeco-odea go
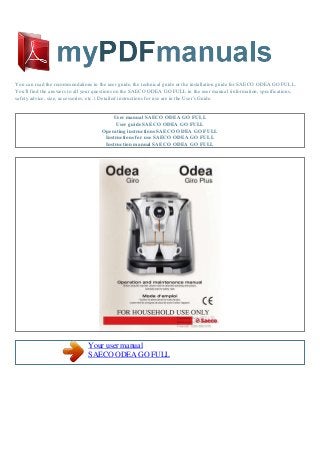
- 1. You can read the recommendations in the user guide, the technical guide or the installation guide for SAECO ODEA GO FULL. You'll find the answers to all your questions on the SAECO ODEA GO FULL in the user manual (information, specifications, safety advice, size, accessories, etc.). Detailed instructions for use are in the User's Guide. User manual SAECO ODEA GO FULL User guide SAECO ODEA GO FULL Operating instructions SAECO ODEA GO FULL Instructions for use SAECO ODEA GO FULL Instruction manual SAECO ODEA GO FULL Your user manual SAECO ODEA GO FULL
- 2. Manual abstract: Coffee button: · slow flash:1 coffee has been selected (the button has been pushed once). · quick flash: 2 coffees have been selected (the button has been pushed twice). 9 Hot water button: · off: steam function is selected · on: hot water function is selected Ground coffee quantity button (Opti-dose) (see page 10). Alarm light: · permanently on (one or more events): signals the machine is out of coffee, that the water tank is empty, or the drip tray is full. · on and slowly flashing (one or more events): signals that the Brew Group is not inserted, the grounds drawer is not inserted, the cover of the coffee hopper is not closed, the service door is open. · on and quickly flashing: signals the need to prime the water circuit. Descaling light: · on and flashing: signals the need to perform a descaling cycle (see page 15). Machine ready light: · permanently on: signals that the machine is ready for use. · on and flashing: signals that the machine is warming up. If the and lights flash alternately, switch off the machine and turn it Espresso30 seconds. If this LTD on again after Italia PTY signal appears again, contact the customer service centre. www.espressoitalia.com.au Freecall 1300 660 976 10 ADJUSTMENTS COFFEE VOLUME ADJUSTMENT PER CUP The coffee volume knob adjusts the amount of coffee brewed per cup. This adjustment has an immediate effect on the selected type of brewing. Medium coffee Espresso coffee Long coffee "AROMA" (OPTI-DOSE) INDICATES THE COFFEE DOSE PER CUP By pressing the key, it is possible to choose either a mild, a medium or a strong coffee. The coffee intensity is adjusted by setting the coffee quantity to be ground. Mild aroma Medium aroma Strong aroma DRIP TRAY HEIGHT ADJUSTMENT The drip tray is height-adjustable to fit different sized cups. To adjust the drip tray, lift it or lower it manually until it reaches the desired height. Note: a red float is visible in the tray; when it lifts, the tray must be drained. Espresso Italia PTY LTD www.espressoitalia.com.au Freecall 1300 660 976 11 COFFEE GRINDER ADJUSTMENT The machine enables a slight adjustment of the coffee grinder. Coffee may be ground according to your own tastes. The adjustment must be performed turning the pin located inside the coffee container by means of the supplied key only. Turn the pin one setting at a time and brew 2-3 cups of coffee; the change in the grind will be noticeable after a couple of cycles. The references located inside the container indicate the grind setting FINE GRIND MEDIUM GRIND COARSE GRIND Espresso Italia PTY LTD www.espressoitalia. com.au Freecall 1300 660 976 12 COFFEE BREWING COFFEE BREWING The coffee brewing cycle can be interrupted at any moment by pushing the button. To brew 2 cups, the machine dispenses half of the entered quantity and briefly interrupts dispensing in order to grind the second serving of coffee. Coffee dispensing is then restarted and completed. 1 2 3 Adjust the drip tray according to the height of the cup(s). Place one cup if you want one coffee only. Place two cups if you want two coffees. 4 5 6 Adjust the quantity of coffee by turning the knob. Select the aroma by pushing the button one or more times (see page 10). Press the central button: once for 1 coffee twice for 2 coffees The machine automatically starts brewing coffee. When the machine has finished brewing, remove the cup(s). Espresso Italia PTY LTD www.espressoitalia.com.au Freecall 1300 660 976 HOT WATER DISPENSING HOT WATER DISPENSING Dispensing may be preceded by short sprays of hot water, and scalding is possible. The hot water/steam spout may reach high temperatures: do not touch it with bare hands. Use the appropriate handle only. 1 2 3 13 Adjust the height of the drip tray. Place a container beneath the steam spout. Press the button to select the hot water function. The hot water light will turn on. 4 5 6 Turn the knob until the position is reached. Wait for the container to be filled with the desired quantity of water. Turn the knob until it is in the rest position ( ). 7 8 Press the hot water button.. Your user manual SAECO ODEA GO FULL Powered by TCPDF (www.tcpdf.org)