2. P a g e | 2
INTRODUCTION:
Thank you for choosing this merchandise!
Nature is a beautiful, idyllic environment. Humans have been able to live off the riches that
nature provides. However, humans are harming nature with the use of fossil fuels. The use of
electricity, though useful, is killing the magnificent beauty that is Mother Nature. But there is a
solution to the problem at hand, that solution is solar energy. Energy, which is released by the
sun, can be turned into light without using fossil fuel.
This how-to manual on making frosted solar jars provides a perfect way to turn solar energy into
light that can be used anywhere at any time. These jars are intended for the use of adults to
reduce fossil fuel use through electricity. There are many other benefits to these jars, like
lowering the electricity bill. Also, this product can be used in more ways than one. By using
different colors, stencils, and silhouettes, you can make frosted jars as night lights for children or
even just for decoration. In fact, frosted solar jars can be made by children and adults. It is
highly recommended that children be assisted with this project, as there is use of hot glue and
spray paint. This manual provides the materials needed for completion, simple and clear steps,
and tips to help produce the jar properly. No experience is required to make a frosted solar jar.
These jars are easy and fast to make, and the end product will be worth the time spent.
3. P a g e | 3
MATERIALS:
The following materials are needed to make a frosted solar jar:
Round glass jar
Hot glue gun
Glue stick
Glass frosting spray
Solar light stake
Newspaper
4. P a g e | 4
INSTRUCTIONS
To frost the glass jar:
1. Place newspaper sheets on the ground.
2. Lift the lid from the glass jar and place the jar on the newspaper as shown in Figure 2.
Figure 2
Figure 1
5. P a g e | 5
3. Grab the frosted spray paint and remove lid from the spray paint.
4. Pick up the glass jar; holding the spray paint 2 ½ inches from the glass jar,
5. Spray the frosted spray paint in sweeping movements on the inside of the jar.
Figure 3
6. P a g e | 6
6. Repeat Step 6 until the entire inside of the jar is painted.
Like in Figure 4, the paint should be evenly coated on the inside of the glass on all four
walls.
7. Place the jar upside down on the newspaper to dry as in Figure 5.
The paint should be dry to touch in 20 minutes.
Figure 4
Figure 5
7. P a g e | 7
To remove the solarlight from stake
1. Pick up solar stake, grab ahold of the head
2. Twist it counter-clock wise as seen in Figure 7
Like in Figure 8, the head should easily be removed with a ½ inch twist.
Figure 6
Figure 7 Figure 8
8. P a g e | 8
To attach the solar light to the lid
1. Plug in hot glue gun.
2. Flip jar with lid attached on its side.
The flat end of the lid should be facing the ground, like shown in Figure 9.
3. Place glue stick into the hot glue gun.
Figure 9
9. P a g e | 9
4. Pick up the solar light head with the light facing the ground, refer to Figure 10.
5. Line the solar light head with 4 thin lines of glue as shown in Figure 11.
There should be four lines of glue only on the black edges of the light head as in Figure12
Figure 10
Figure 11 Figure 12
10. P a g e | 10
6. As in Figure 13, place the
glued side of the light head lightly
onto the inside of the lid.
If the glue is over seeping onto
the light then you should remove
the light head and redo steps 5
and 6.
7. Lay the jar with lid attached to the side to dry.
To charge solarlight
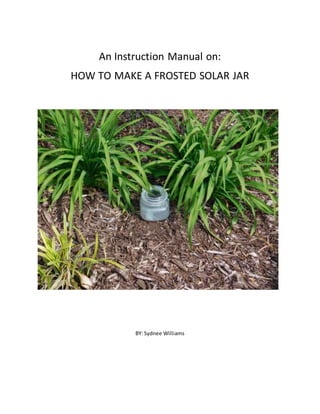
1. Place jar in a location that receives sunlight.
The sunlight has to hit the glass lid directly to charge the light head.
Figure 13
11. P a g e | 11
CONCLUSION
This step-by-step manual was created to assist adults in making frosted solar jars. The
purpose for these jars are to promote clean production of electricity through solar energy. This
product is fun and easy to make. Low electricity bills and crafty designs make these jars fun for
all to enjoy. If this product is made as instructed, these jars will continue to bring light to your
home whenever it is needed. The jars are efficient and earth-friendly.